
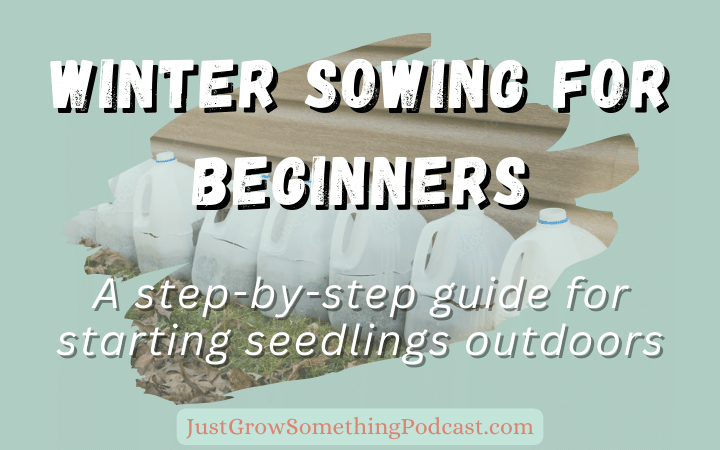
Winter sowing is a versatile way to start seeds outdoors, harnessing the power of nature to grow hardy and resilient plants. This method is particularly beneficial for beginners as it eliminates the need for indoor space and provides a low-maintenance alternative to traditional seed starting. In this guide, I'll walk you through the step-by-step process of winter sowing, from preparing your containers to caring for your seedlings.
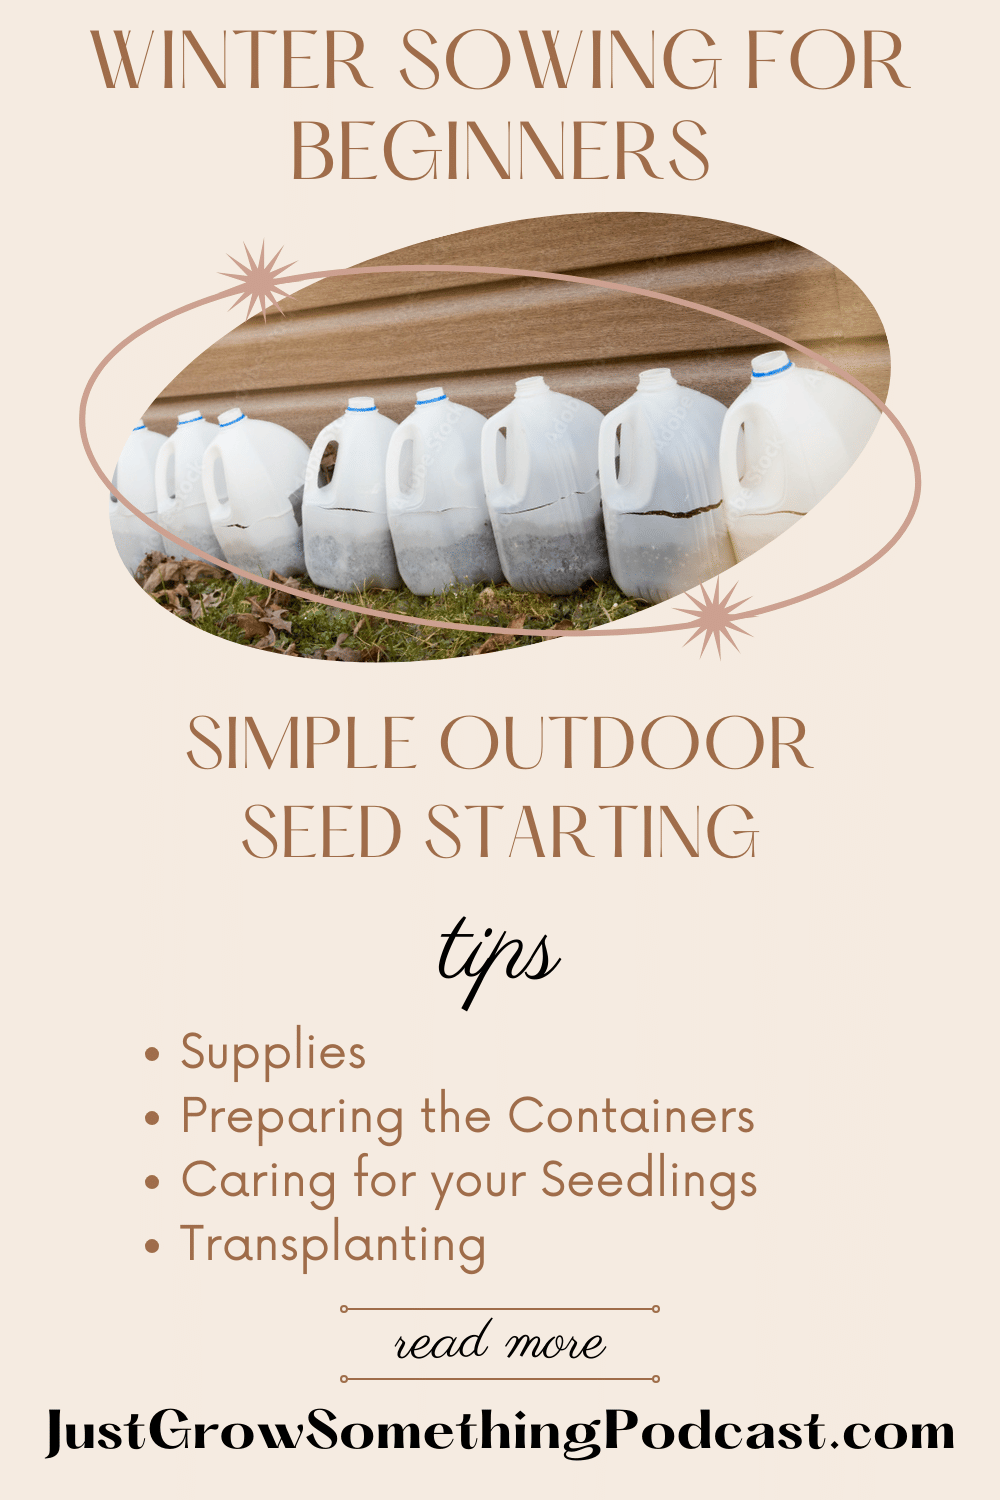 Supplies
Here's what you'll need:
- Clear or opaque containers (e.g., milk jugs, large yogurt or cottage cheese containers) Use whatever you have! Any clear or opaque container that holds 3 to 4 inches of soil and that has headroom for the seedlings to grow about 2 inches or so will do.
- Plant labels
- Knife or scissors
- Duct tape or packing tape
- Potting soil with good drainage and low nutrient levels
- UV-resistant markers for labeling
Preparing the Containers
Cleanliness is key: Ensure that your chosen containers are thoroughly cleaned and sanitized before use. This will help prevent any potential diseases from affecting your seedlings.
Create drainage holes: Using a knife or scissors, carefully make several small holes in the bottom of each container to allow for proper drainage.
Measure and cut: Measure approximately 4 inches up from the bottom of the container and make a straight cut all the way around. This will leave you with a bottom portion and a top portion, providing ample space for seedling growth. Or use a container that has a separate lid.
Fill with potting soil: Add 3 to 4 inches of potting soil into the bottom portion of the container. Ensure that the soil has good drainage and is low in nutrients, as seedlings do not require rich soil at this stage.
Water thoroughly: Before proceeding, water the potting soil until it is thoroughly moistened. This will create an ideal environment for the seeds to germinate.
Labeling and Planting
Use UV-resistant markers: It's crucial to label your containers with the plant type, variety, and planting date using UV-resistant markers. Permanent markers may fade over time, so it's best to opt for markers specifically designed to withstand outdoor conditions. Alternatively, use permanent markers but turn the plant labels away from direct sunlight.
Plant your seeds: Plant the seeds according to the instructions on the seed packet, taking into consideration the recommended depth and spacing. It's important to plant only one type of seed per container to avoid competition among seedlings.
Ventilation and Location
Ventilation is important: To prevent overheating, create several small ventilation holes in the top portion of the container. This will ensure that air can circulate freely while maintaining a stable environment for your seedlings.
Find the perfect spot: Place your containers in a location outdoors that receives ample sunlight and is easy to access as the seasons change. This may include a sunny spot in your yard or on a balcony.
Caring for Your Seedlings
Monitor moisture levels: Regularly check the moisture level of the soil in your containers. While winter sowing requires less maintenance than traditional seed starting, it's important to ensure that the soil remains moist but not waterlogged. A spray bottle works well for adding moisture without disturbing seedlings.
Protect against pests: Consider using coffee filters over the ventilation holes to prevent slugs and other pests from entering the containers.
Transplanting Your Seedlings
Timing is everything: When your seedlings have developed 2-3 sets of true leaves, they will be ready for transplanting. This typically occurs as winter transitions into spring.
Transplanting method: Use the "hunk of seedlings" method, in which you transplant a cluster of seedlings together. You can always thin them out later, but starting with a chunk of seedlings can improve their chances of success. For larger seedlings, break apart the soil to separate the plants from each other without disturbing the roots.
Ensuring moist soil: Before transplanting, ensure that the soil is moist to ease the process on the delicate roots of the seedlings.
Experiment and Share Your Experience
As you embark on your winter sowing journey, don't hesitate to experiment with different containers, seeds, and planting times to discover what works best for your unique growing conditions. Additionally, consider joining online gardening communities or local gardening groups to share your experiences and learn from others who have embraced the winter sowing method. There are lots of Winter Sower groups on Facebook and many experienced winter sowers in local gardening groups.
Winter sowing is a simple and rewarding way to kickstart your garden, offering a natural and cost-effective way to grow a wide variety of plants. By following these step-by-step instructions, even beginners can confidently embrace outdoor seed starting and enjoy the process of nurturing resilient and vibrant seedlings. Happy sowing!
Your Friend in the Garden,

Related episode: Ep. 131 - The Basics of Winter Sowing: Seed Starting Outdoors