

As we’re ramping up to start our gardens many of us are making plans for starting seeds indoors to get a jump on the season. In short season areas particularly, this is a necessity if we want to get a harvest of heat-loving vegetables like peppers. Here are five tips to making sure your seed-starting journey is a success.
 Follow Planting Instructions. I know it kind of sounds obvious, but when you’re starting multiple varieties of seeds or multiple trays of seeds all at once, there may be temptation to just do it all the same way and be done with it for efficiency’s sake. But, if the seed packet says plant the seed ½” deep, then do that. If it says sow on the surface and gently press in, then do that. Planting your seeds too deep or too shallow can cause problems with sprouting. If the instructions say keep soil moist but not saturated, pay attention.
Yes, seeds are resilient, and some are less finicky than others, but plant breeders and researchers and seed suppliers spend a lot of time figuring out how to best get these plants to grow, so they know what they’re talking about when they write these instructions. Do your best to follow their guidelines. If you need to, make a note on the label of your tray or container to remind you of any special instructions you should remember as the seeds germinate and grow.
Use Heat to Your Advantage. Along with those other planting instructions on your seed packet, it likely tells you the optimum soil temperature for germination. This usually ranges between 60 and 85 F, or 15.5 to 29.4 C, even for cool weather plants. I was surprised to realize my broccoli, which I transplant out into the garden when the soil temperatures are only around 50F, prefer a soil temperature of 77F, or 25C, for germination. If I waited until my soil temperatures outside were ideal for broccoli to germinate, the air temperatures would very quickly turn too hot for the plants, and they’d bolt. Many, many of the garden plants we grow are not indigenous to our own area which is why they need a little extra care, and we can’t just toss the seeds outside and call it a day.
I’m not usually one to advocate buying equipment just for the sake of it, but I highly recommend a seedling heat mat. These heated mats raise the temperature of the rooting area 10 to 20 degrees F or 5 to 11 C above the ambient room temperature and it can really help speed up sprouting and improve germination percentage when sprouting seeds indoors.
 Mind Your Air Temperature. Right along with those recommendations for seed depth and soil temperature is the air temperature. This may not be the same as the average recommended outside temperatures. We call this the “grow on” temperature. The problem I see with a lot of seed starting set ups is that the gardener has their area set up in their dining room, for example, and it’s near a heat vent, so it may be one of the warmer areas of the house. This might be fine for starting the seeds, but for growing on the seedlings to the transplant stage it may be too warm, especially for cool-season crops.
We’ll use broccoli as an example here, again. Germination temperature is between 75 and 80 F (24 to 27C) for the soil, but once it sprouts, the preferred air temperature is 60F (16C) for growing on. Once transplanted outside, it grows best in temperatures between 55–75°F (13–24°C). So, if your seed starting area is fairly warm because of its location or if you keep the temperature of your home at between 68 and 70 F or warmer, your broccoli plant is not going to be as happy once it sprouts as it could be. And if the temperature drops dramatically at night and then warms up significantly during the day, that wide temperature fluctuation can also damage your seedlings.
And keep in mind that cool-weather plants may like an air temperature near 60F, but your warm-weather plants likely prefer something closer to 70F or above. And then you have things like peppers, that like a soil temperature of between 80 and 90F to germinate, and like growing on temperatures of 70F during the day and 60F at night. Talk about being picky.
Does this mean you have to have separate areas for seed starting, then another area for growing on cool-loving crops and another for warm-weather ones? No, not at all. But what it does mean is that you need to pay a little bit of attention to where you locate your seedlings indoors and what the daytime and nighttime temperatures are in that area. If you find that it’s too cold at night, maybe add a space heater on a timer. If it’s too warm, add a fan. Speaking of fans …
Air Flow. Stagnant air isn’t good for us, and it certainly isn’t good for our plants, so try to be sure there is adequate air flow around your plants. In most cases, if you’ve got your plants in a general-purpose area of your house, this isn’t a problem. If you’re starting your seeds in a small room or a closet, though, that’s another story. Proper air flow promotes water evaporation and the transpiration plants need to be able to pull nutrients from the soil through their roots, and it reduces your chances of fungal growth on your soil and leaf surfaces. It also circulates new air in around your plants so they get a constantly new supply of carbon dioxide, the stuff they breath. So, if your area is a little tight on circulation, you definitely need to add a fan.
But, even if your area has perfectly good air flow, you’ll still likely need to add a fan. Having air blowing directly at your seedlings helps promote strong stems by forcing the plant to hold itself up against the flow of the air. This wind resistance builds the strength of the stem material of the plant, making it stiffer.
My recommendation is to have a small oscillating fan on a timer. It doesn’t have to be big, just something that will visibly move the seedlings around a bit and can be shut off at night so as not to affect the air temperatures too drastically.
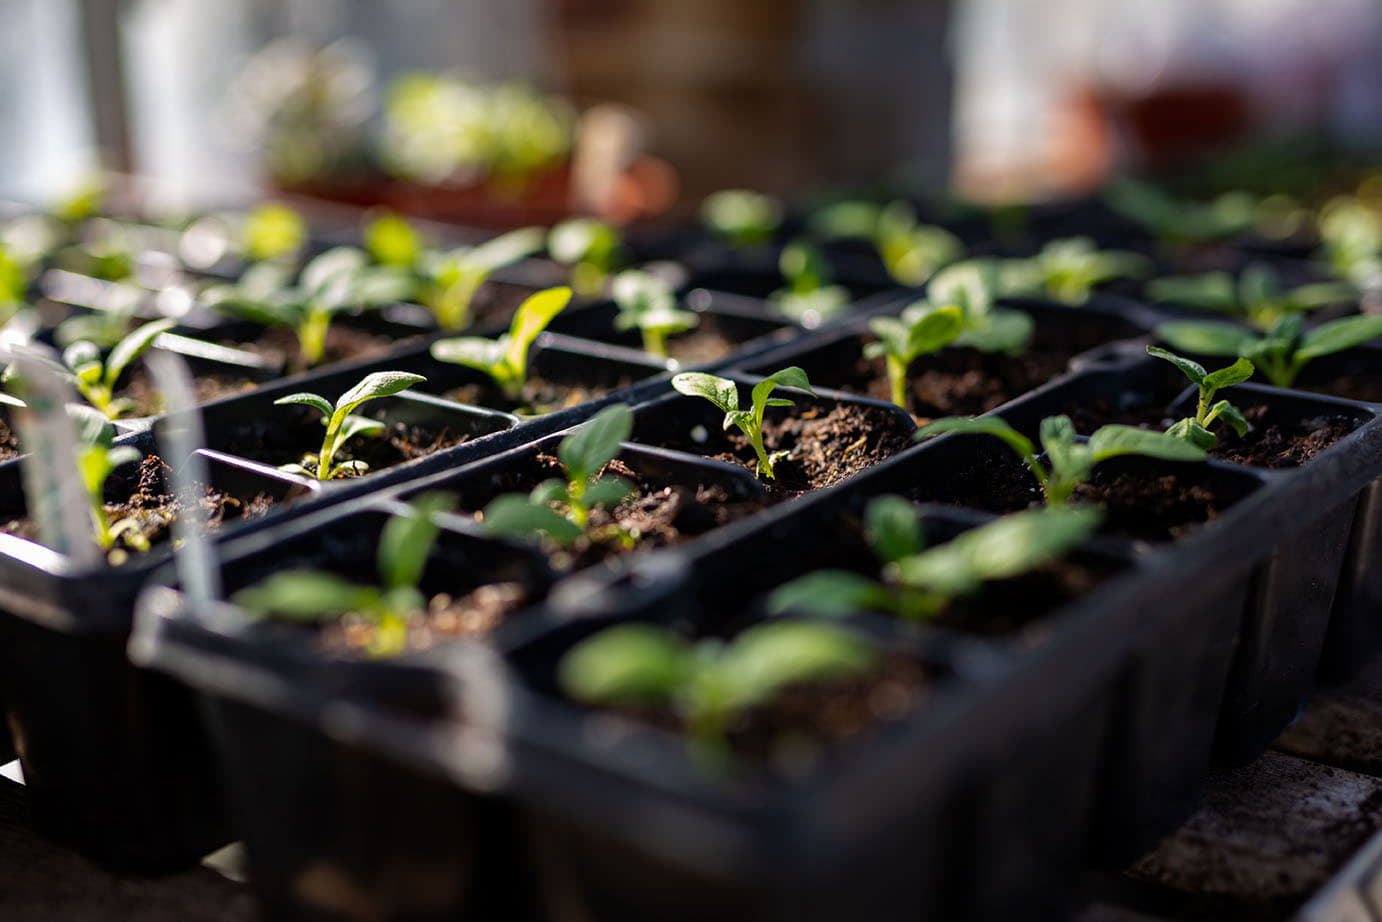
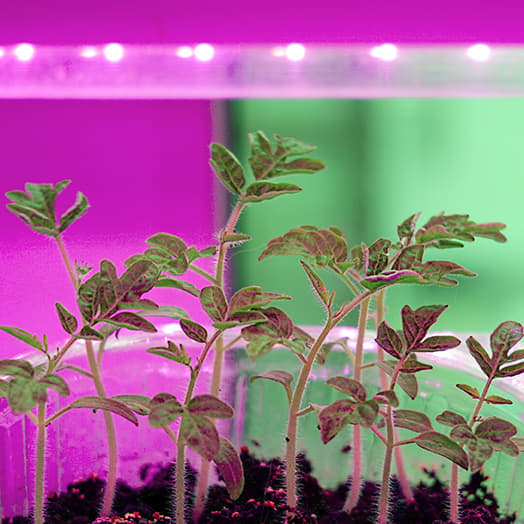 Proper Light. You do not need specific grow lights for starting your seeds indoors. We’re talking about annual plants that will only be growing indoors for a matter of weeks, so they will do perfectly fine under regular old fluorescent or LED shop lights.
What is necessary, though, is paying attention to how close those lights are to your seedlings as they sprout and begin to grow. A light source that is too far from the plants as they come up can cause them to become week. They will stretch themselves toward the light, whether that’s to one side or straight above, causing the stem of the plant to become long and thin. This isn’t a problem when the plant is small, but as it gets bigger and those leaves at the top get larger, the long thin stem isn’t strong enough to hold the weight and they’ll fall over. Slow, steady growth is what we’re going for to keep the stem stocky and strong.
Lower your lights down as close as you can above the plants when they sprout. If you’re using fluorescent lights or LED lights, you’re not going to be too worried about the plants overheating or burning, so keep the light about 2 inches above the top of the plant and then raise that light up as the plant grows. Keep in mind that fluorescents do give off a little bit of heat, so if you’re growing plants that prefer a cooler air temperature, use your fans to cool the areas immediately around the plant. LEDs won’t cause this problem.
Starting your seeds indoors is not complicated, but there are plenty of things that can go wrong along the way. Paying attention to the five things we talked about today – the seeds’ planting instructions, soil temperature, air temperature, air flow, and your lighting situation – will go a long way toward getting your seedlings off to the best start this gardening season.
Your Friend in the Garden,

Related podcast episodes and articles:
Ep. 77 - Five Tips to Successful Seed Starting
Ep. 78 - Seed Starting Mix vs Potting Soil, plus How to Make Your Own
Article: Winter Sowing: A Beginner's Guide to Outdoor Seed Starting
Article: Ideal Germination Temperatures for Seed Starting Indoors and Out