Winter often leaves us longing for fresh, homegrown greens. But even if you didn’t prepare your garden for winter or faced challenges with fall crops, you can still enjoy the vibrant flavors of leafy greens indoors with minimal setup and effort. This guide explores four practical options for growing fresh greens at home: window gardens, homemade hydroponics, microgreens, and tabletop systems.
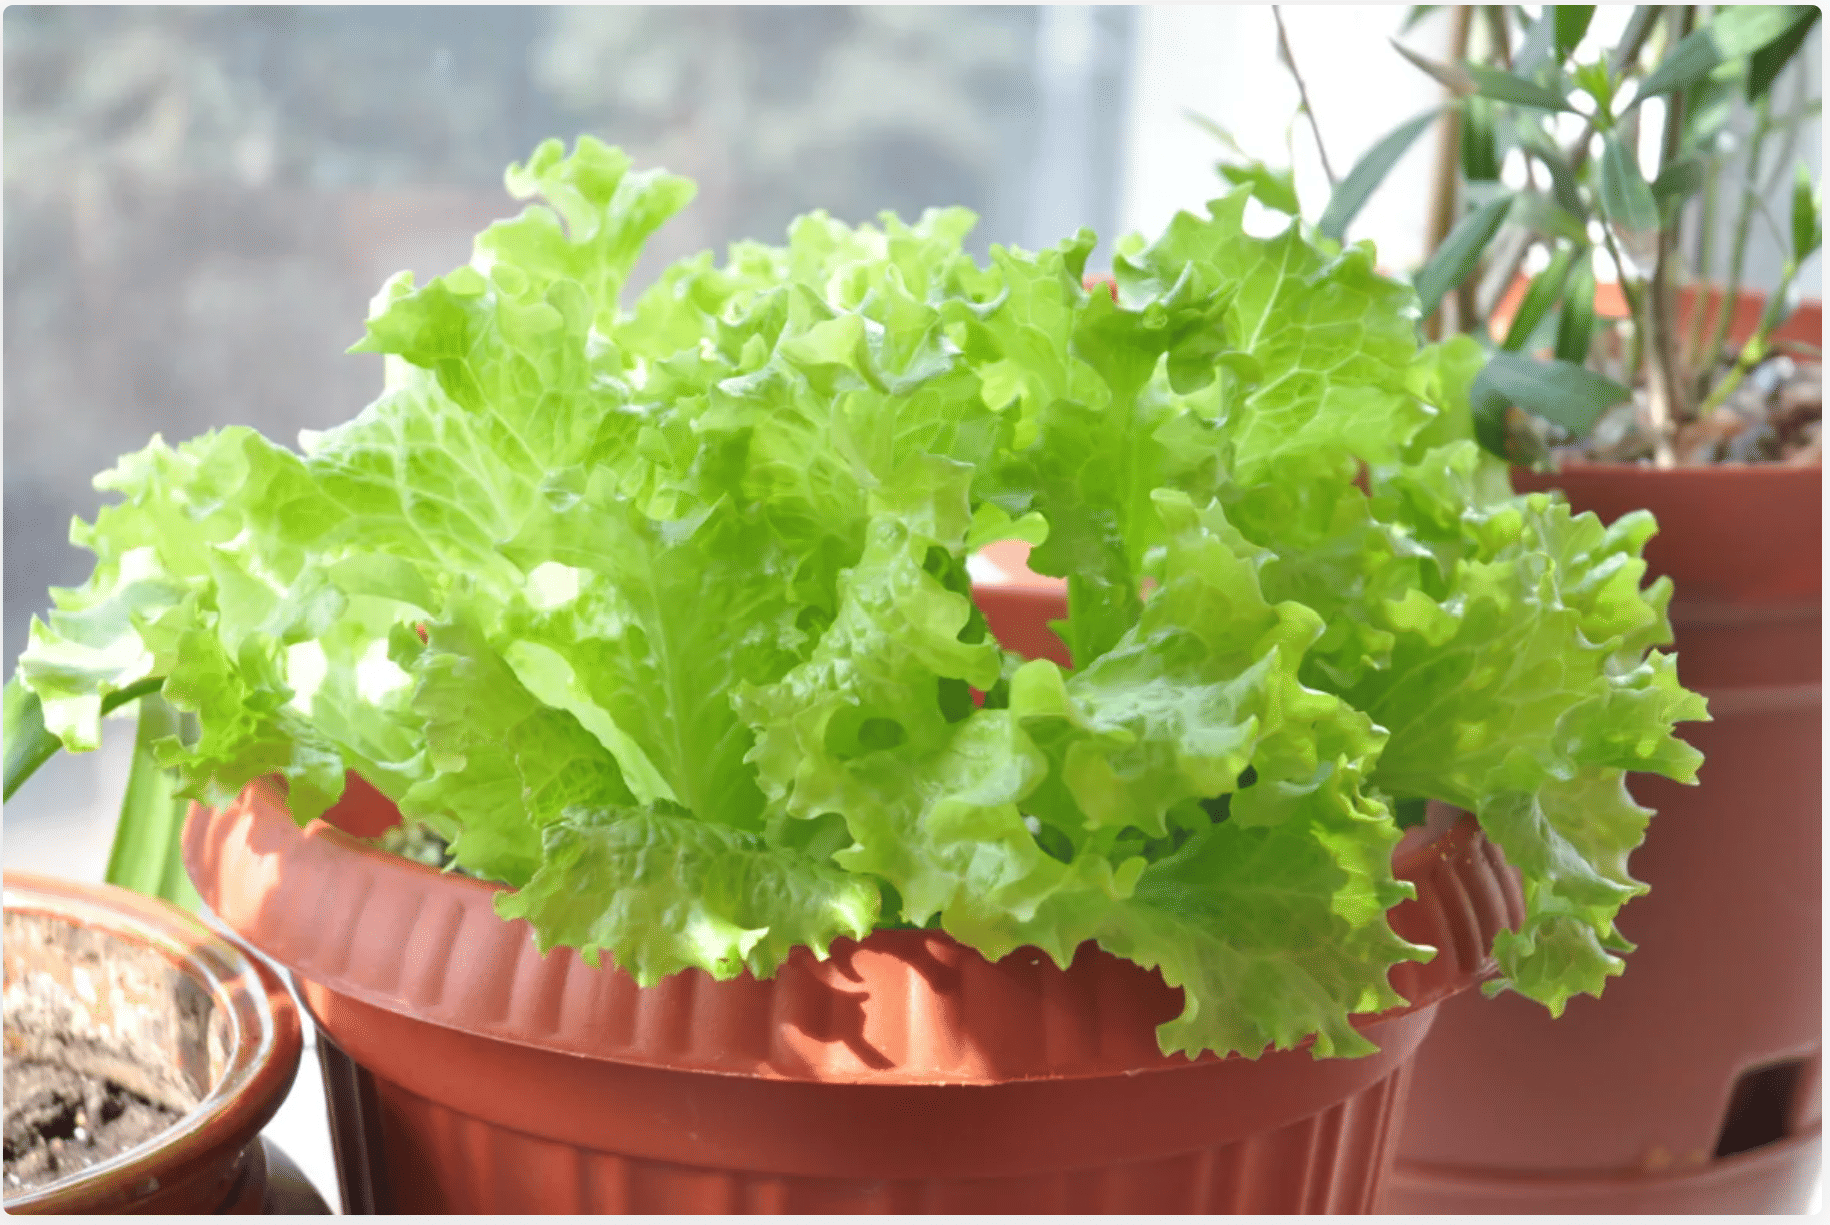
Option 1: Window Gardens with Soil
Supplies Needed:
Containers: Use small pots, trays, or repurposed items (like yogurt cups) with drainage holes. Containers should be 4-6 inches deep.
Potting Mix: Choose a light, well-draining mix, ideally with added perlite or vermiculite.
Seeds: Opt for leafy greens suited for low light, such as lettuce, spinach, kale, or microgreens.
Fertilizer: A water-soluble, balanced fertilizer will promote healthy growth.
Lighting: A sunny windowsill or supplemental LED grow light works well.
Optional: A humidity tray or spray bottle can add moisture in dry environments.
Steps:
Prepare Containers: Fill with potting mix, leaving half an inch from the rim. Moisten the soil.
Sow Seeds: Scatter seeds thinly or plant in rows. Cover lightly with soil and mist.
Position and Care: Place containers in a sunny spot. Water when the top inch of soil feels dry.
Thin Seedlings: Once seedlings are 1-2 inches tall, thin them to avoid overcrowding (use these as microgreens!).
Fertilize and Rotate: Feed lightly after 3-4 weeks and rotate pots to ensure even light exposure.
Harvest: Snip outer leaves for continuous growth, avoiding the central growth point.
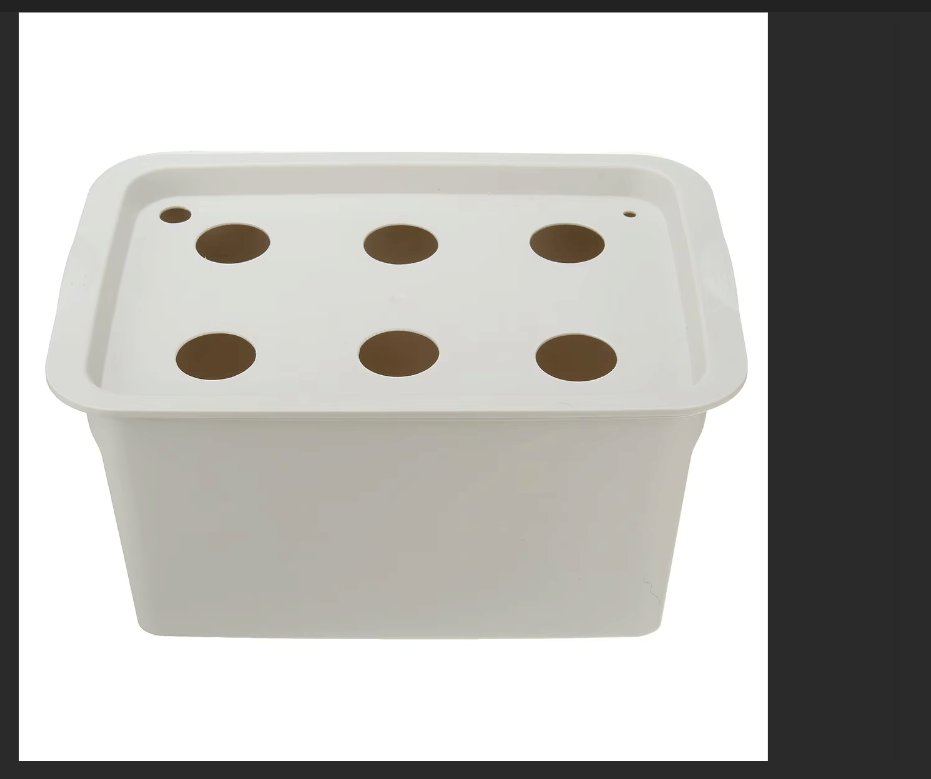
Option 2: Homemade Hydroponics
Hydroponics offers a soil-free method to grow leafy greens indoors, perfect for small spaces and consistent yields.
Supplies Needed:
Container: A shallow plastic bin with a lid works well.
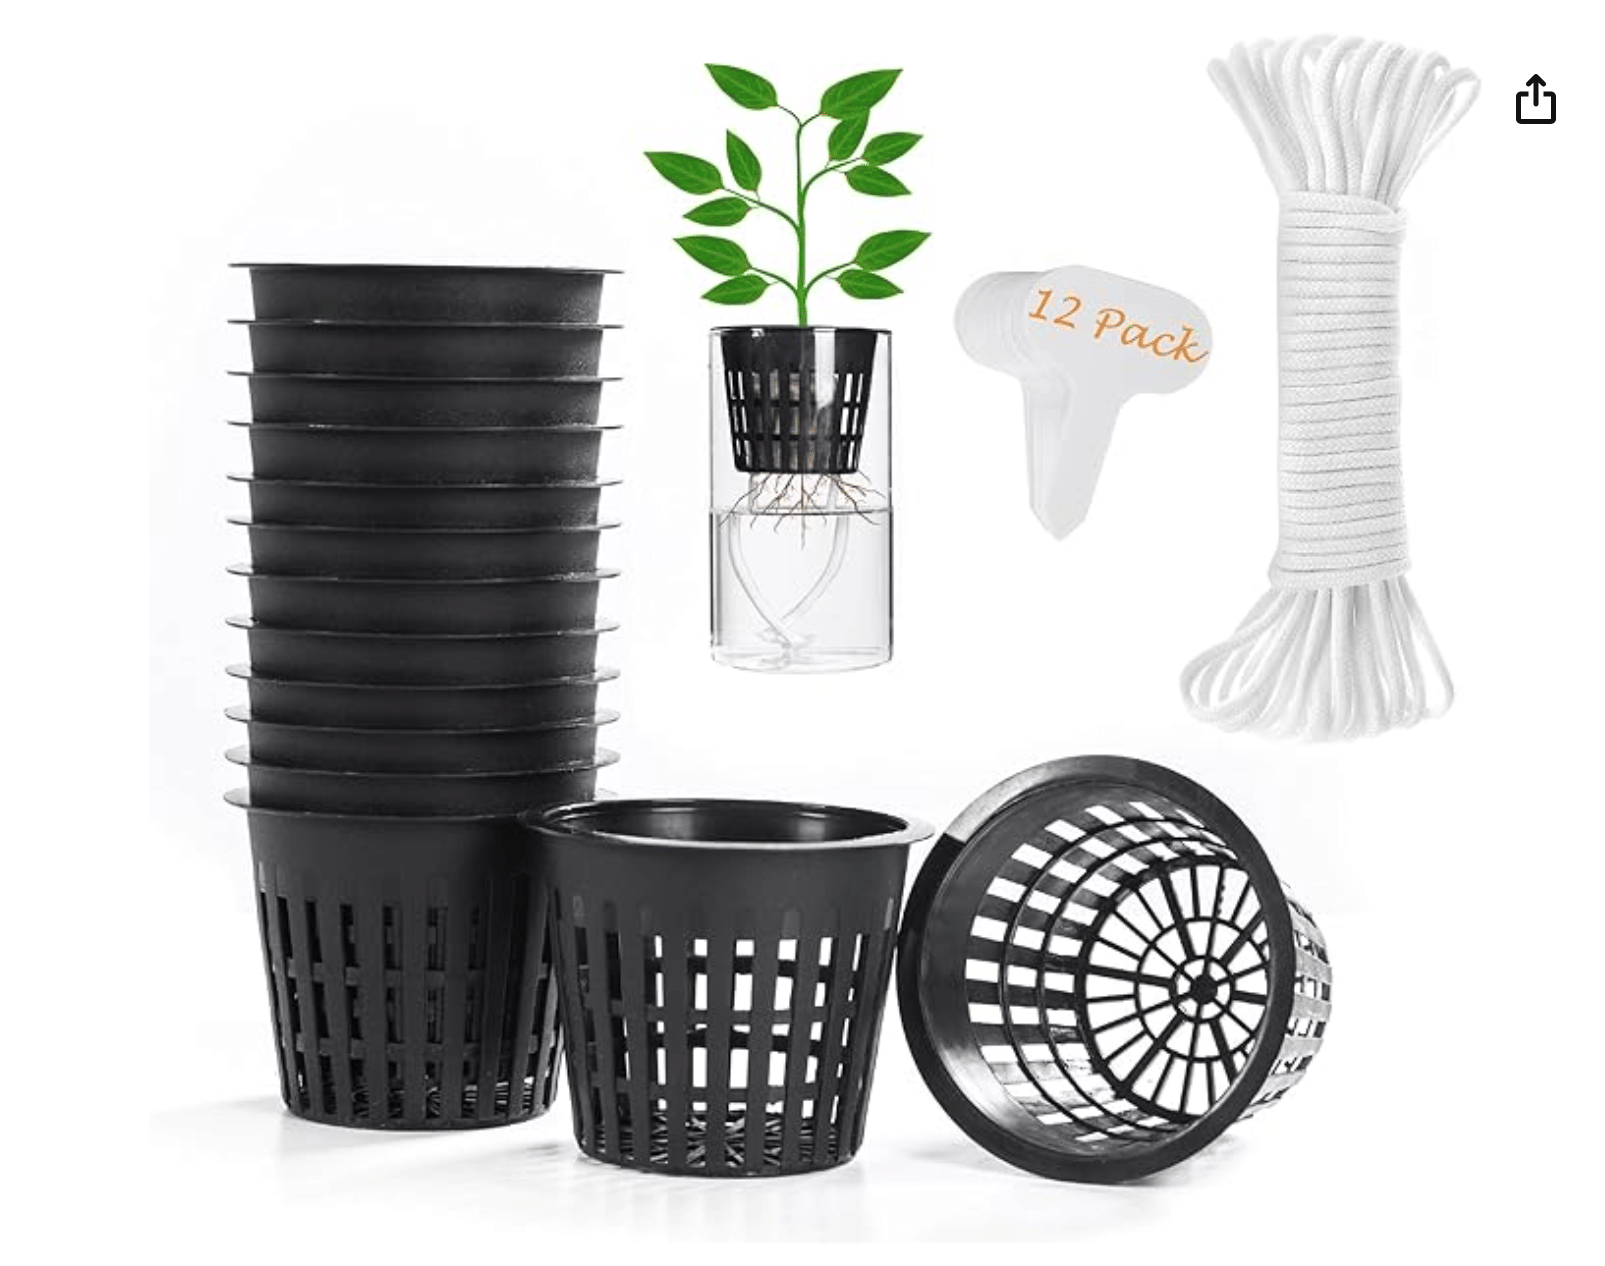
Net Pots: Small net pots (or DIY versions from plastic cups).
Growing Medium: Use Rockwool, coco coir, or clay pebbles.
Nutrient Solution: A hydroponic mix tailored for leafy greens.
Optional: An air pump and air stone for oxygenation.
pH Testing Kit: Maintain a pH of 5.5-6.5 by using test strips to check
Lighting: LED grow lights provide consistent growth.
Steps:
Prepare the System: Cut holes in the lid for net pots and fill the container with nutrient solution.
Oxygenate (Optional): Add an air stone connected to an air pump.
Plant Seeds: Place seeds in the growing medium within net pots.
Insert Net Pots: Ensure the base of the net pots touches the nutrient solution.
Provide Light: Position the system in a bright area or under grow lights for 10-12 hours daily.
Maintain the System: Check pH, replenish the solution, and prevent algae buildup.
Bonus: Kratky Method
The Kratky method is a passive hydroponic technique that requires no pumps or electricity. As the water level drops, roots access both nutrients and oxygen, simplifying maintenance. Simply set your net pot into the container, be sure the water level is covering the roots, allow the plant to take up the water while creating an air gap between the top of the water and the bottom of the plant. In this way, no pump is needed. To avoid algae growth, this method is best suited for plants growing for 6 to 8 weeks and then harvested completely, resetting the system to start over with a new plant, fresh water and nutrients.
Option 3: Microgreens
Microgreens are quick to grow, nutrient-dense, and require minimal space or equipment, making them an excellent choice for fresh greens in just 1-3 weeks.
Supplies Needed:
Shallow Trays: Use seedling trays or repurposed takeout containers.
Growing Medium: Seed-starting soil, coconut coir, or moistened paper towels.
Microgreen Seeds: Popular options include radish, sunflower, broccoli, and pea shoots.
Spray Bottle: For gentle watering.
Lighting: A sunny window or LED grow light.
Steps:
Prepare Tray: Fill with 1 inch of growing medium and moisten.
Sow Seeds: Spread seeds evenly across the surface and press gently.
Mist and Cover: Mist seeds thoroughly and cover the tray for 2-3 days.
Uncover and Grow: Once sprouted, remove the cover and place under light.
Harvest: Snip microgreens at the base once they reach 2-3 inches.

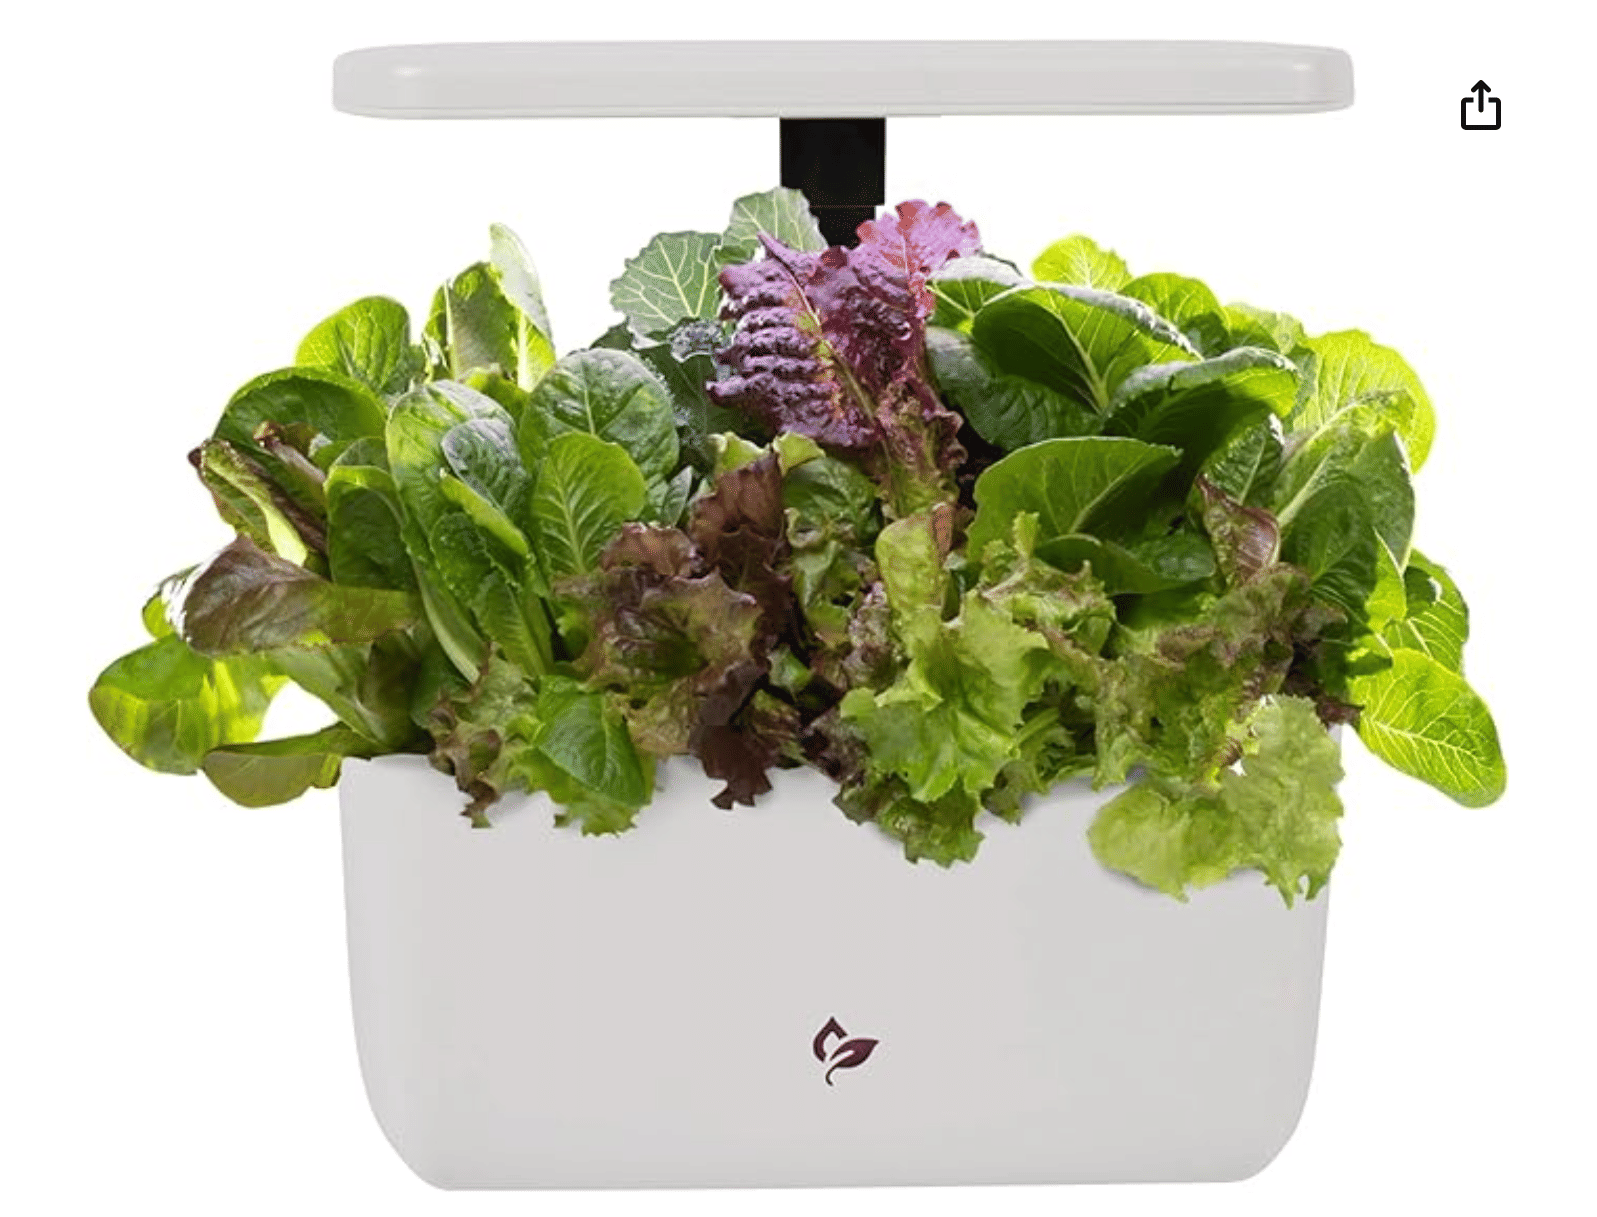
Option 4: Tabletop Hydroponic Systems
An Aerogarden or similar type of tabletop system is a convenient and user-friendly hydroponic system for growing leafy greens indoors. It provides a controlled environment with automated lighting and water delivery, making it an excellent choice for beginners or anyone looking for a low-maintenance way to grow greens year-round.
Supplies Needed
Aerogarden or Other Brand Unit: Comes in various sizes, includes a built-in grow light, water reservoir, and pump for circulating water and nutrients. I have this one: https://amzn.to/42jPcUb A listener of the podcast recommended this one: https://amzn.to/3Bm76dS
Seed Pods: Look for leafy greens like lettuce, kale, spinach, or mixed greens. Custom pods are also available if you want to use your own seeds.
Liquid Plant Food: Kits usually include a bottle of hydroponic nutrient mix, pre-measured for easy use. Additional nutrients can be purchased as needed.
Water: Use filtered or distilled water if your tap water is hard or chlorinated, as this can impact plant health and cause build up on the unit.
Steps:
Set Up the Unit: Unpack and assemble the unit according to the manufacturer’s instructions. Fill the water reservoir with the recommended amount of water.
Insert Seed Pods: Place in designated slots and cover with provided humidity domes
Add Nutrients: Your unit manual should provide guidance on how much to add. Most units come with a reminder light for when to add fresh nutrients.
Start the System: Some units have different settings for types of plants being grown. Set to leafy greens, if available. The built-in light will turn on/off automatically for the ideal number of hours per day.
Monitor Growth: Add water and nutrients as needed. Most units provide a reminder light, making this a no-brainer!
Harvest Your Greens: Once the plants reach a height of 4-6 inches, you can begin harvesting. Use the "cut and come again" method by trimming outer leaves while leaving the central growth intact.
Tip: Experiment with Varieties
Beyond basic greens, you can try growing herbs like basil or dill in these setups. I’ve even grown full-sized Bok choy!
Aerogarden also supports custom seed pods if you want to grow something unique. I have empty pods I use to grow selections from my seed collection.
Tips for Success Growing Greens Indoors
Lighting: Ensure 4-6 hours of sunlight or supplement with grow lights for optimal growth.
Temperature: Maintain 60-75°F for most greens.
Harvest Gradually: Use the "cut and come again" method to extend harvests.
Pest Management: Watch for aphids or fungus gnats and address promptly.
Why Greens?
Greens are the easiest crops to grow indoors due to their adaptability to low-light conditions and compact spaces. With just a sunny window or a simple grow light, you can cultivate leaf lettuce, kale, arugula, spinach, chard, and even baby Bok choy or leafy herbs like basil. Whether you're in a small apartment or need a break from outdoor gardening, these techniques will bring freshness to your kitchen all year long.
Your Friend in the Garden,
Karin